One of my most favorite pieces of advice I received when it comes to creating content for your blog is to reference the things you say and do for your customers frequently. These could be frequently asked questions, things you find yourself explaining over and over again, and instructions you have given so many times you have created a template.
Below is some of the advice we share with clients when it comes to how to write how-to blog posts.
Blog Post/Content Guidance
It’s often said that longer blog posts and web pages are better for SEO. This is pretty much true. Think about the first few results when you are looking for a recipe. Do you really need the full history and step-by-step instruction with images of Baked Ziti or would the ingredients and basic recipe suffice? But it really comes down to how many words it takes to properly explain the topic. As a general guide, we typically shoot for around 800 – 1,000 words. However, this can be changed based on the blog post type. And today we are talking about How-To Posts.
How-To Posts
Good How-To posts can be quite intensive as they are paired with video or many photos (also great for SEO!, especially original videos and images). Moreover, it’s easier for the reader to understand complicated projects when given simple, clearly written, steps. This is why we suggest at least 500 words for these types of posts.
You can get more words on the page by adding in many subheads to explain the steps, which can also be beneficial for people reading on a phone, tablet or laptop. This also makes it easier for the reader to follow along.
Key Elements for How-To Posts
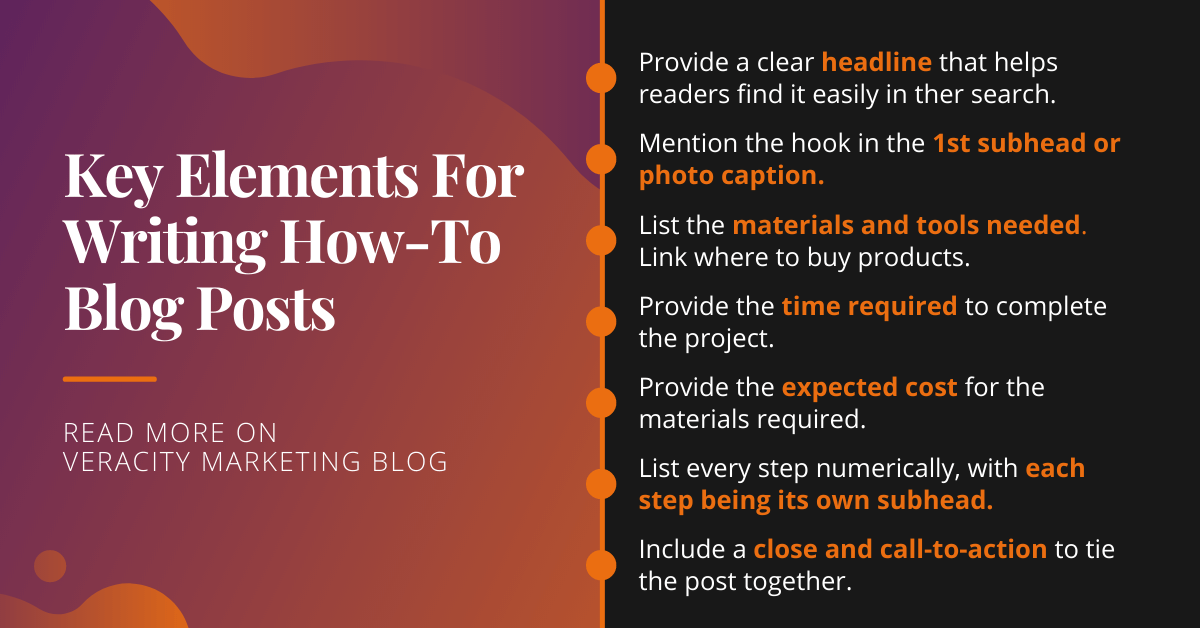
Headline
Follow a formulaic approach that makes it simple to catalog so consumers can find them easily when they are looking for this type of post.
For example, start all posts like this:
How-To: [insert project name]
Or
A Step-By-Step Guide to [insert project name]
1st subhead or photo caption to run under the first photo
Further, explain the project or mention the “hook,” i.e. summer is coming so get ready for backyard fun with our steel BBQ project. Whether or not this appears as the first subhead, an introduction, or it runs under the photo to look like a photo caption depends on your website/blog design. But it can be fun to view your words as art and see how they’ll line up on the completed webpage.
Materials needed
List materials needed in a bullet-pointed or easy-to-read fashion. Possibly link to products or provide instructions for where to buy (especially if they can buy from you) as long as it doesn’t take up too much room before getting to the steps.
Tools needed
List tools needed in a bullet point or easy-to-read fashion.
Time required
Give the reader an idea of how much time this project should take.
Cost
Provide the expected cost for the materials required.
Subsequent subheads
You can list every step numerically, with each step being its own subhead. Don’t leave out any steps and assume they know how to do it. After listing the steps as subheads, go back in and provide at least two sentences explaining the step in more detail, much like how you would say it in a video (in fact, this can prep you for video recordings).
Close/Call-to-Action (CTA)
Do not forget this part, a lot of people do! Here is a great place to bring back in the hook mentioned above to tie it all together. You should also add your CTAs here as it’s typically best to have them in the close of any blog post. For example, if there is a special kit or product they could buy from you to enhance this project, include how to get it here (with links). And/or include any class information and how to sign up (link) if it relates to the project.
If you have two CTAs, break them apart into two paragraphs. Also, when bringing the “hook” back in, if you have enough to say, it could even be its own paragraph. Then you have 3 paragraphs “bottoming out” the subheads/steps above! It looks nice and complete! YAY good job. You are done! 🙂 Possibly this little note of encouragement here is an inspiration to provide kudos to your audience for finishing the project you just walked them through.
In closing, always remember your close :), below are some additional resources from the Veracity blog that can help you through various types of blogging processes, whether it is writing and formatting, or how to reach more people with your posts.
Catching them Hook, Line & Sinker with Blog Posts