✅ Check your background. Avoid clutter and distractions behind you. If using a virtual background, check that your outline isn’t fuzzy or glitchy.
✅ Center yourself. Position your head about one-third of the way down the screen. Your camera should be at eye level, not lower (no “up the nose” shots). If you’re using a laptop webcam, elevate it with books if needed.
✅ Leave room for captions. For a TV interview, imagine that your name and title will be running at the bottom of the screen. So make sure your chin isn’t so low on the screen that the caption would be running over it.
✅ Light your face, not your backside. Place the lighting in front of you, not behind, so your face is clearly visible. Sitting in front of a window works well, but avoid having one behind you.
✅ Look at the camera, not yourself. Pretend the little dot is your audience’s eyes. Looking at the camera helps you appear engaged and builds a stronger connection with your audience.
✅ Don’t use earbud mics. Sorry, but they are scratchy and distracting. You can use headphones without a mic attached.
✅ Check mic placement. If you have an external mic, keep it about a “hang loose” (thumb to pinky) distance from your mouth. It’s fine if it shows on screen, just as long as it doesn’t cover your face.
✅ Sit still. Avoid fidgeting or tapping your desk, as both can be distracting on camera and in audio.
✅ Dress for the part. Solid colors look better than busy patterns, which can distract or blur on camera.
✅ Wipe your lens. Sounds obvious, but smudges will make you look unprepared.
✅ Review camera quality. A built-in webcam is fine, but if you’re doing recordings often, consider upgrading to an external HD camera.
✅ Close other apps. This helps your internet connection stay stable and prevents unexpected distracting pop-up notifications.
✅ Mute sounds. Make sure your notifications are silent (off is better!) and put your cell phone on mute.
✅ Test first. Do a trial run before the interview to catch lighting, sound or framing issues.

The Quick Pre-Recording Checklist
Here’s your cheat sheet. Run through it before you go live:
- Background is clean (or virtual background is not glitchy)
- Camera at eye level, head framed one-third of the way down the screen
- Light in front, not behind
- Lens wiped for a clear picture
- Mic tested, thumb to pinky away from mouth
- Notifications and cell phone silenced
- Extra tabs and apps closed
- Water glass nearby
- Do a quick test
Additional things to consider:
✅ Buy an external mic. A USB microphone in the $60 to $100 range can significantly improve sound quality.
✅ Consider a ring light. They are inexpensive and provide consistent, flattering light.
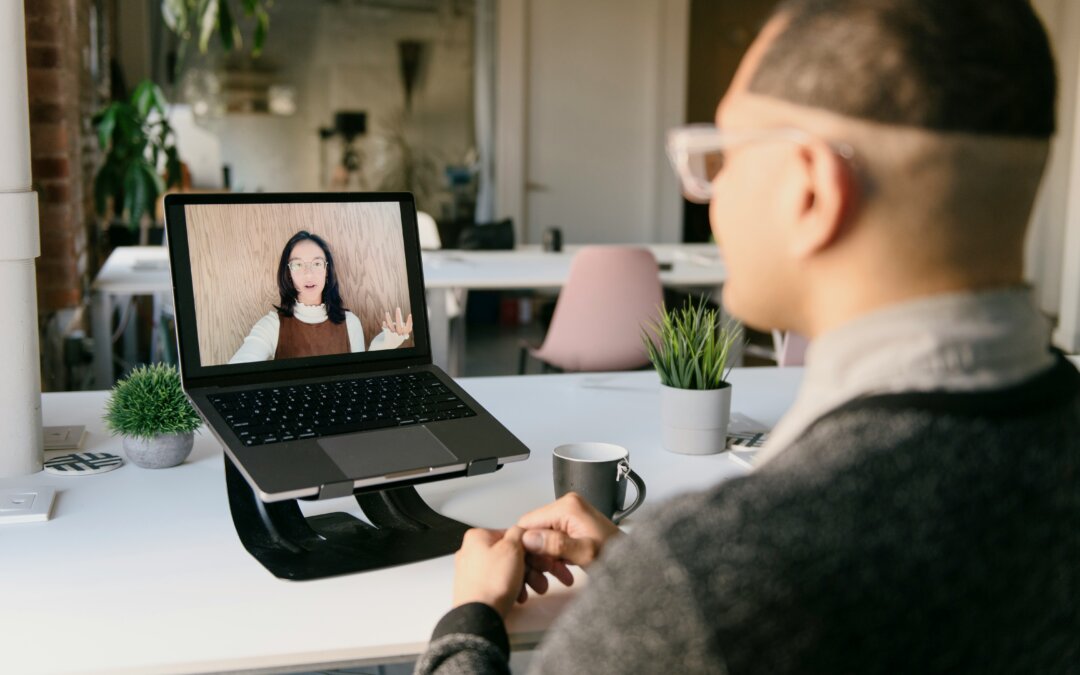
Featured Image Courtesy of M. Cooper From Unsplash