YouTube
YouTube is easy to upload to and the most popular video watching and sharing network. We recommend YouTube for ease of use and if you are planning to have people see your videos on a third-party platform and/or if you plan to embed videos on your website or blog. YouTube is also very easy to share on social networks like Facebook, Twitter and Google+.
Step-by-step guide to uploading to YouTube:
There are two ways to upload a video from your iPhone directly to YouTube, using the Photos app and using the YouTube app. We recommend using the YouTube iPhone app. Of course to begin you need to have a YouTube account (a business/channel account &/or personal account) and have the YouTube app on your phone. Once you have an account and are signed-in on the app, follow these 6 easy steps:
1) Open your YouTube App (if you are not logged-in, login now).
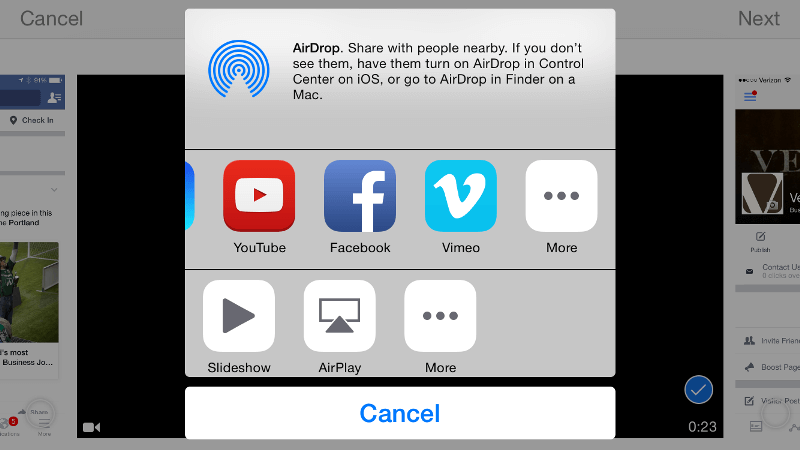
2) Touch the red circle with the “upload” arrow (bottom right corner of the first image on the right side of this page).
3) Select the video you would like to upload from your Camera Roll (you may have to allow the app to access your Camera Roll).
4) You will have the opportunity to trim, filter and/or add music to your video at this time, however you have already done this when you edited your iPhone video.
Trim allows you to remove parts of your video from the beginning &/or end of your recording. There are 7 different filters including 8mm, Sketch (see image), Glamour and Haunt.
5) Add a Title, Description and set your Privacy setting.
For your title and description, consider the words you want the video to show up for if someone searches for it (often referred to as keywords).
6) Select “Upload” and you are done.
Now you may want to login to YouTube on a computer and edit your video’s information, settings, select a different thumbnail, etc.

Vimeo
Vimeo is also very easy to upload to and provides a more professional look (in our opinion). We recommend Vimeo for ease of use and a more professional look (YouTube is great, but everyone knows it is free and full of spam). The embedding features look great and you can control more of what is displayed.
Step-by-step guide to uploading to Vimeo:
There are two ways to upload a video from your iPhone directly to Vimeo, using the Photos app and using the Vimeo app. We recommend using the Vimeo iPhone app. Of course to begin you need to have a Vimeo account and have the Vimeo app on your phone. There are three levels of membership Basic (free), Plus ($9.95/month) and Pro (starting at $199/year) depending on your needs. Once you have an account and are signed-in on the app, follow these 6 easy steps:
1) Open your Vimeo App (if you are not logged-in, login now).
2) Select “Upload” from the main screen.
3) Select the video you would like to upload from your Camera Roll (you may have to allow the app to access your Camera Roll).
4) Preview the video. Click select again.
5) Add a Title, Description and who can see the video.
For your title and description, consider the words you want the video to show up for if someone searches for it (often referred to as keywords).
6) Select “Save” and you are done.
Now you may want to login to Vimeo on a computer and edit your video’s information, settings, select a different thumbnail, etc.

If you are only planning on using your video in Facebook, you may want to skip the specific video sharing platforms and upload directly. Facebook videos can be used in other places (shared and/or embedded), but we recommend using a specific video sharing/hosting site if you plan to show your videos other places.
There are a few ways to upload a video from your iPhone directly to Facebook and it depends on if you want the video on your personal Facebook timeline or a company page you manage. You can use the Photos app, the regular Facebook app or the Facebook Pages app. Here are step-by-step instructions for the personal Facebook app and then using the Pages app.
Step-by-step guide to uploading to personal Facebook timeline:
1) Open your Facebook App (if you are not logged-in, login now).
2) Select the “Photo” icon in the middle of your main screen.
3) Select the video you would like to upload from your Camera Roll (you may have to allow the app to access your Camera Roll).
4) Click “Done.”
5) “Say something about this video…”
You can change who can see the video, add a message, tag people that are in it, etc.
6) Select “Post” and the video will post to your timeline.


Step-by-step guide to uploading to a Facebook Company Page:
1) Open your Facebook Pages App (if you are not logged-in, login now).
2) Select the “Page” you want to post the video to in the left dropdown (if you manage more than one page).
3) Tap the “Video” icon.
4) Select the video you would like to upload from your Camera Roll (you may have to allow the app to access your Camera Roll).
5) Click “Done.”
6) “Say something about this video…”
You can publish immediately or schedule for a later time, add a message, add a location, etc.
7) Select “Publish” and the video will post to your page.